

When I was growing up, my great-Uncle Jack would always bring the most amazing chocolate thumbprint cookies to holiday celebrations. I’d always sneak a peek in the box right away, and eat as many as I could get away with… before and after dinner. Since Uncle Jack’s passing, years ago, I hadn’t had a chocolate thumbprint. I love the way they taste, sure, but they were such a staple during celebrations for me that I needed to bring them back.
I spent a while looking around online for that perfect recipe: the buttery, crunchy cookie, and the rich, dense ganache. I didn’t have much luck, so I decided to mix and match with what I did find. Although these aren’t quite the same cookies (I’ll continue to try to perfect the recipe as the holidays near), they turned out really well! I decided I had to share them with you all, and I hope they bring some joy and peace (to your sweet tooth) this holiday season.
Dark Chocolate Thumbprint Cookies
Adapted from recipes by Tasty Treats and Lemon & Mocha
Makes about 3 dozen cookies (which won’t last long)
For the cookies:
1 cup butter, room temperature
1 cup confectioner’s sugar
2 1/2 cups all-purpose flour
2 tsp vanilla extract
2-3 tbsp warm water
For the filling (ganache):
One 10-oz bag bittersweet chocolate chips (I used Ghirardelli)
3 tbsp butter
3/4 cup heavy whipping cream
Step 0. Preheat the oven to 350°F.
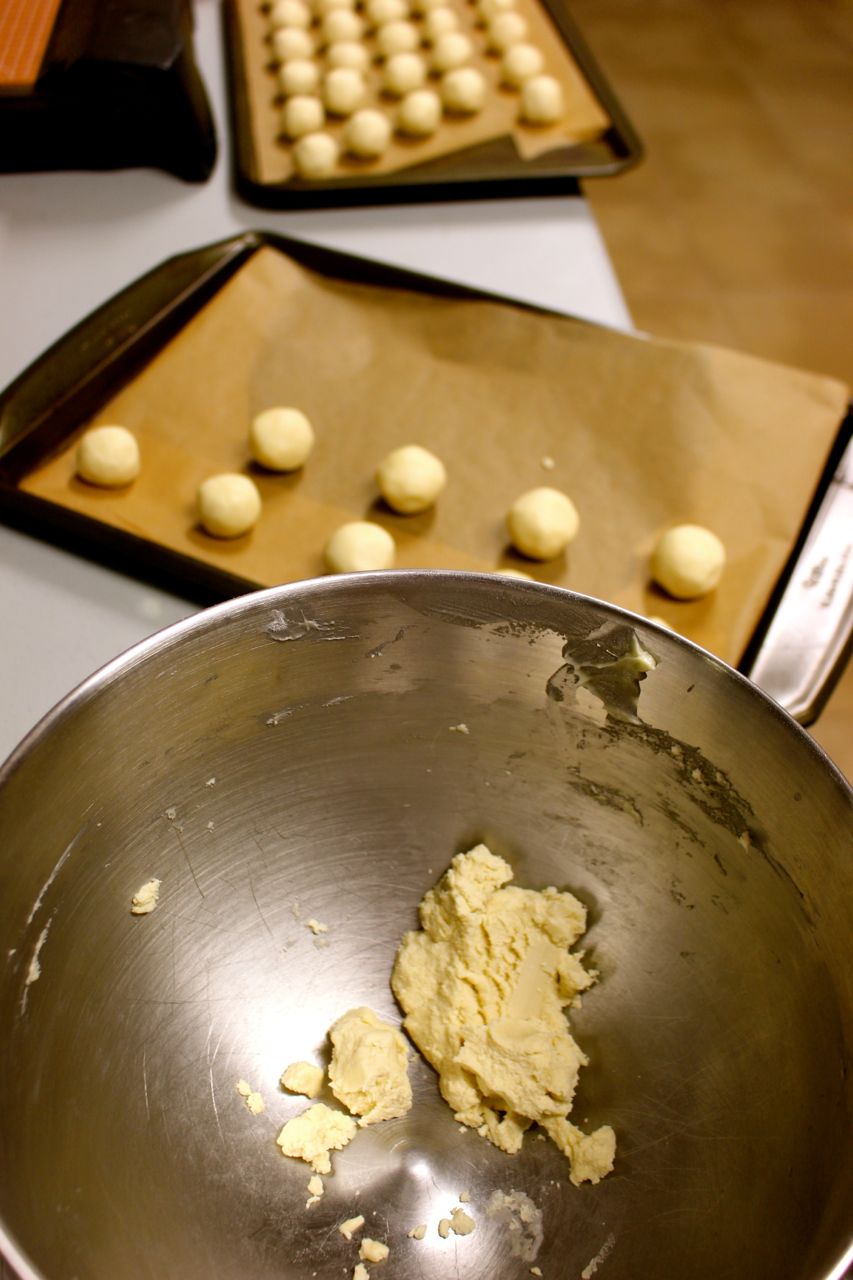
Step 1. Beat the sugar, butter, and vanilla extract together in a large mixing bowl until well combined. Add in the flour, and mix until a dough forms. If the dough has trouble sticking together, add in warm water (one tablespoon at a time) until the dough holds together, but is not sticky.
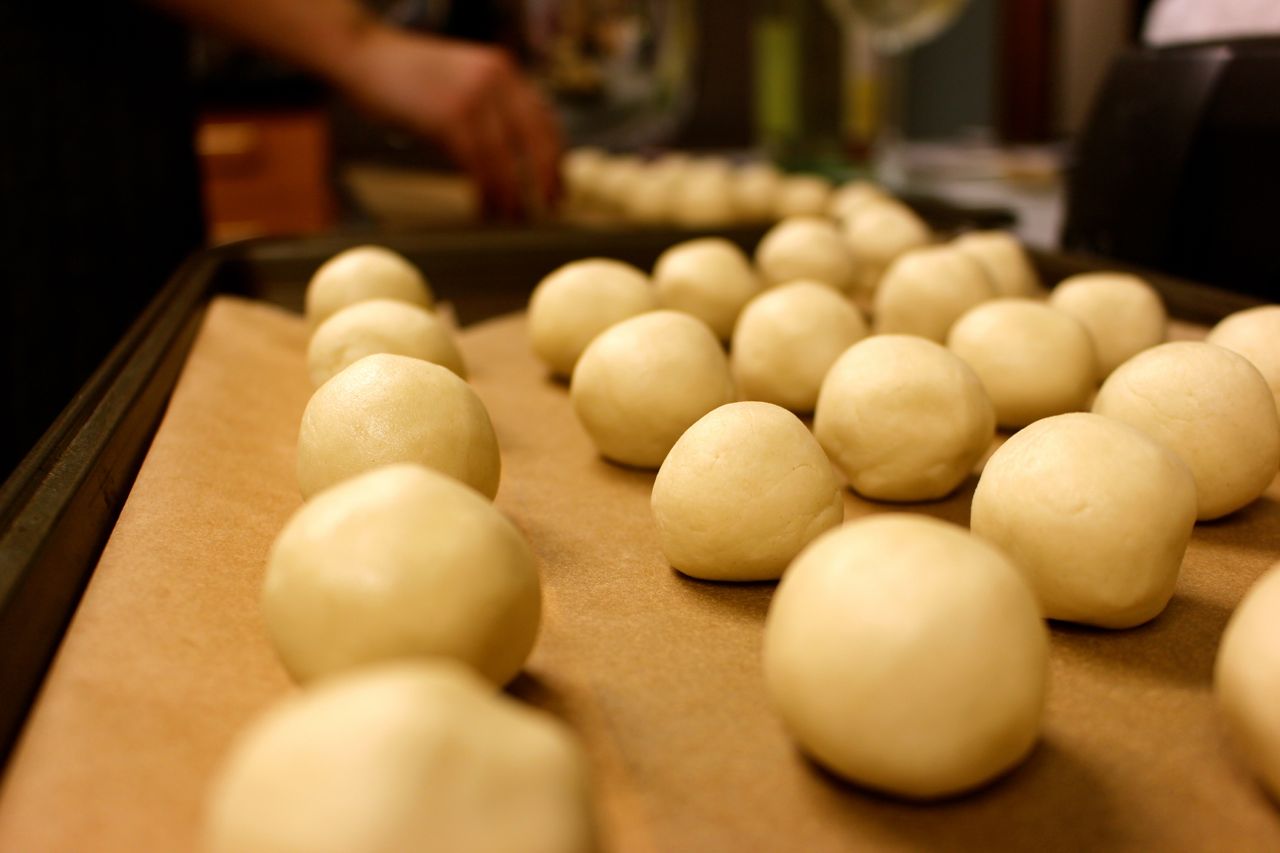
Step 2. Using your hands, roll the dough into small balls (mine were ~3/4inch in diameter), and lay out on a cookie sheet lined with parchment paper.
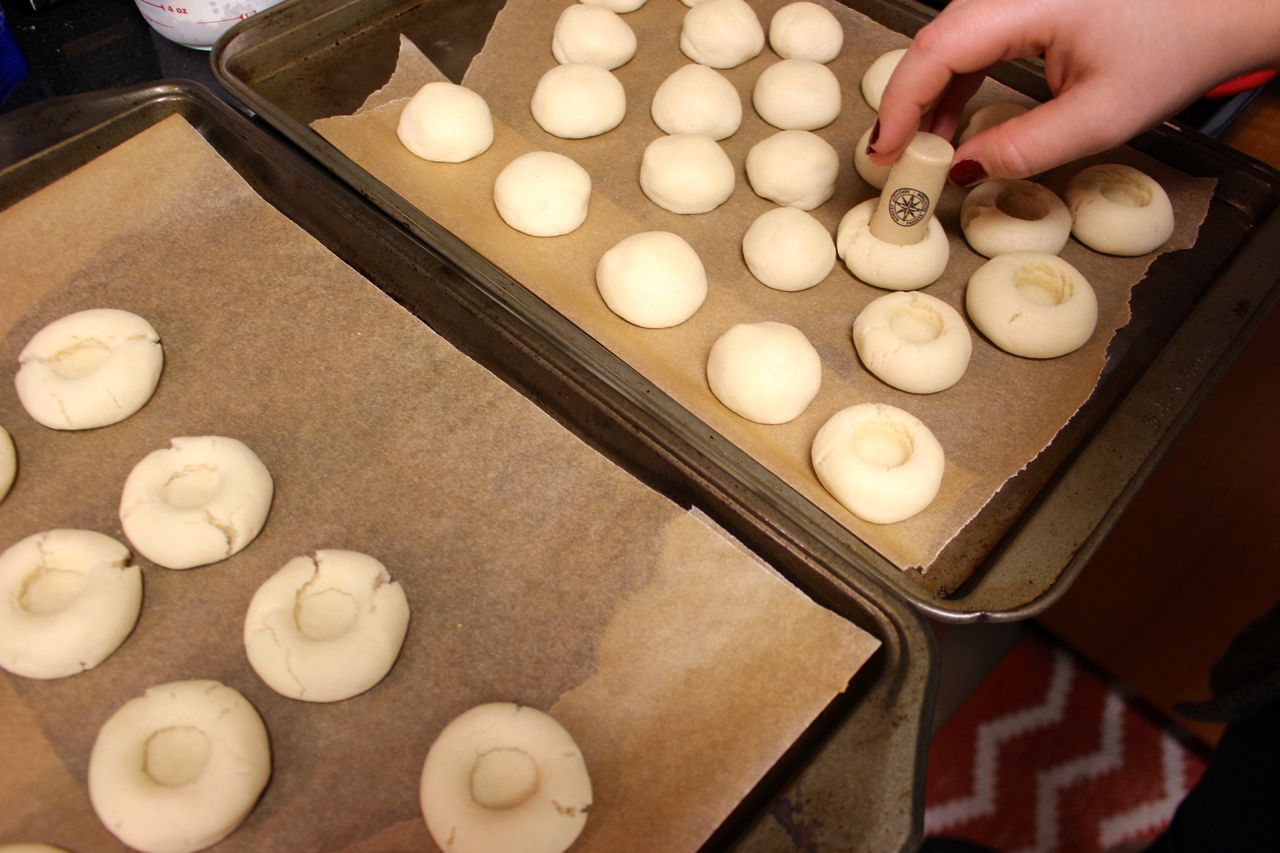
Step 3. Bake the dough balls for 10 minutes at 350°F, then remove from the oven. Using your thumb (not recommended– these cookies are hot!), a wine cork, or spoon, press down to make a little well in each cookie for the filling.
Step 4. Place the cookies back into the oven for an additional 7-10 minutes, until the edges have begun to brown slightly. In the meantime, start preparing your ganache…
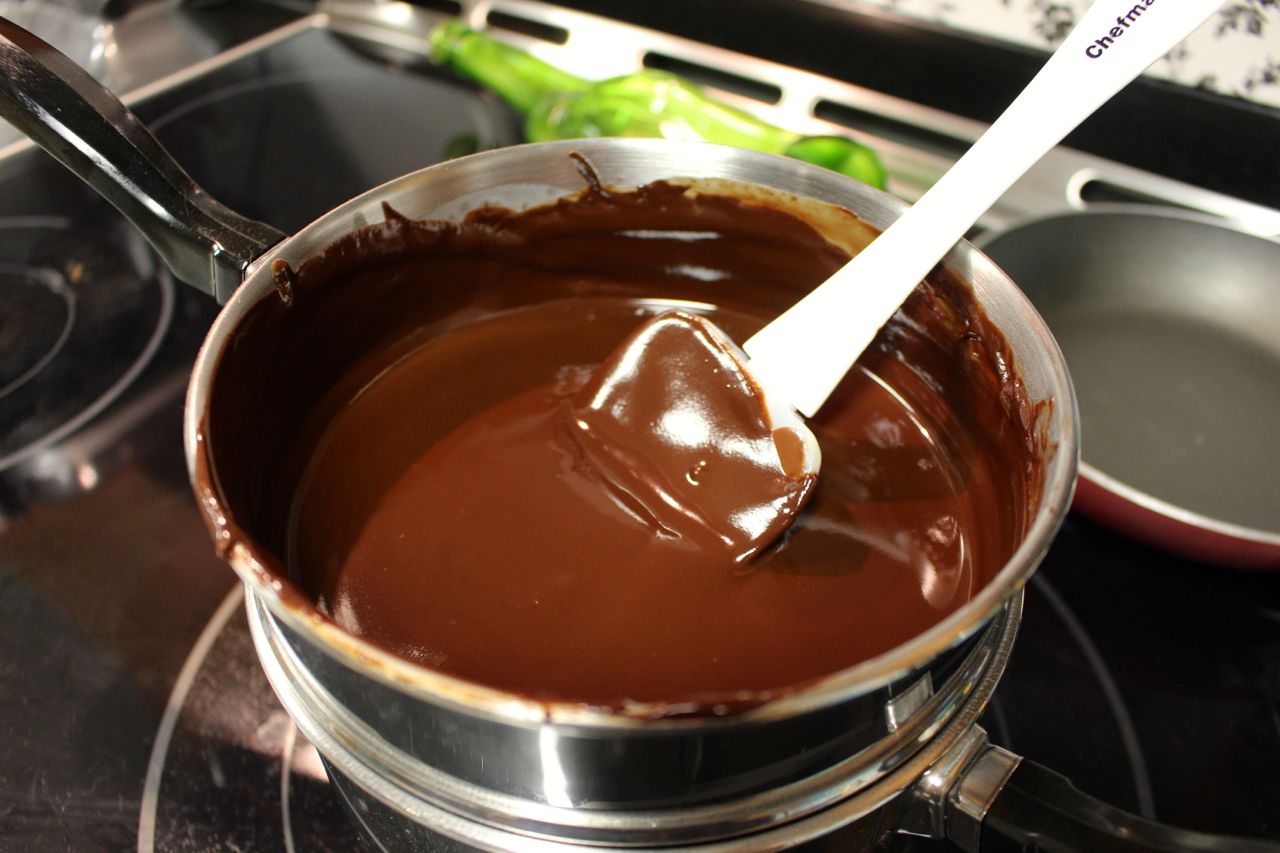
Step 5. Using a double boiler, melt the chocolate chips about halfway. Add in your butter…
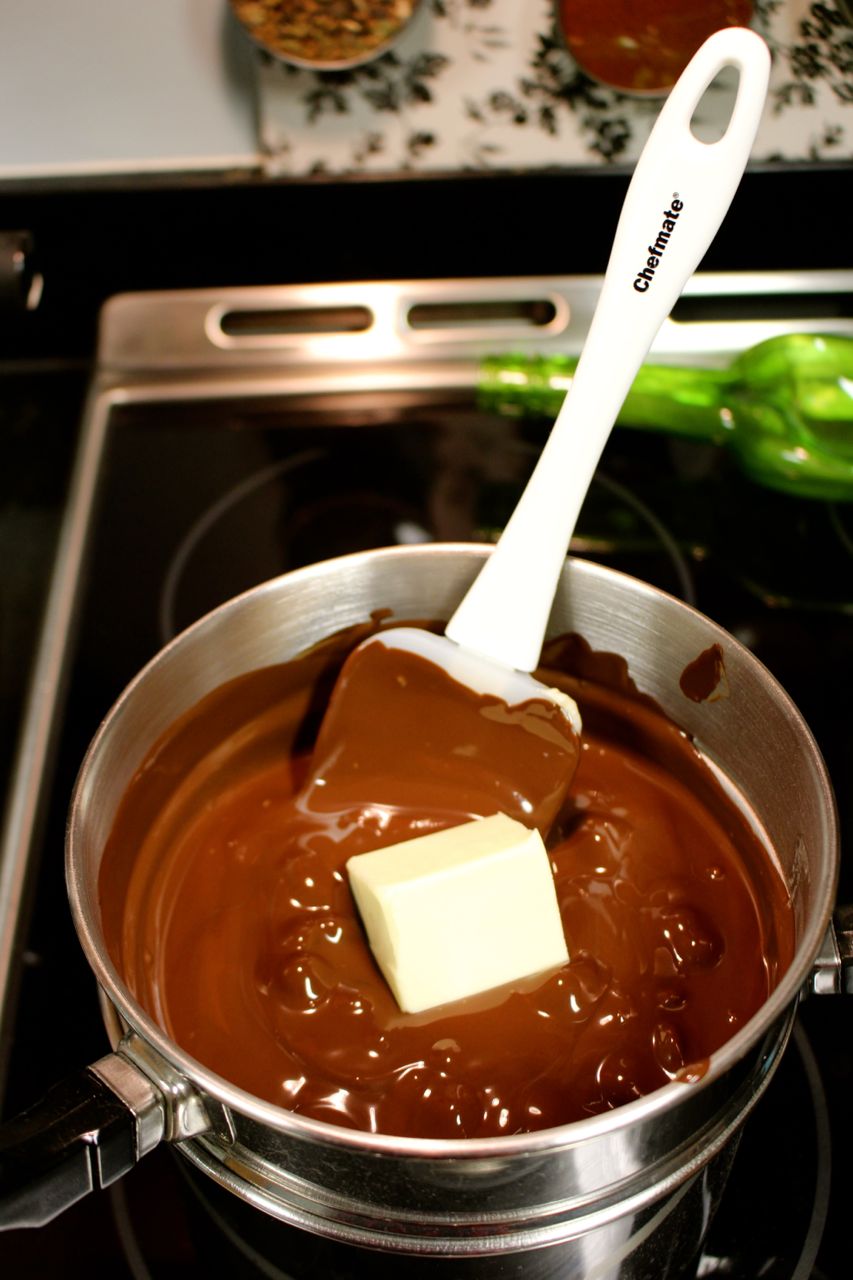
… and heavy whipping cream.

Although it’ll look a little gross at first…

… keep stirring, and it’ll soon look beautiful.
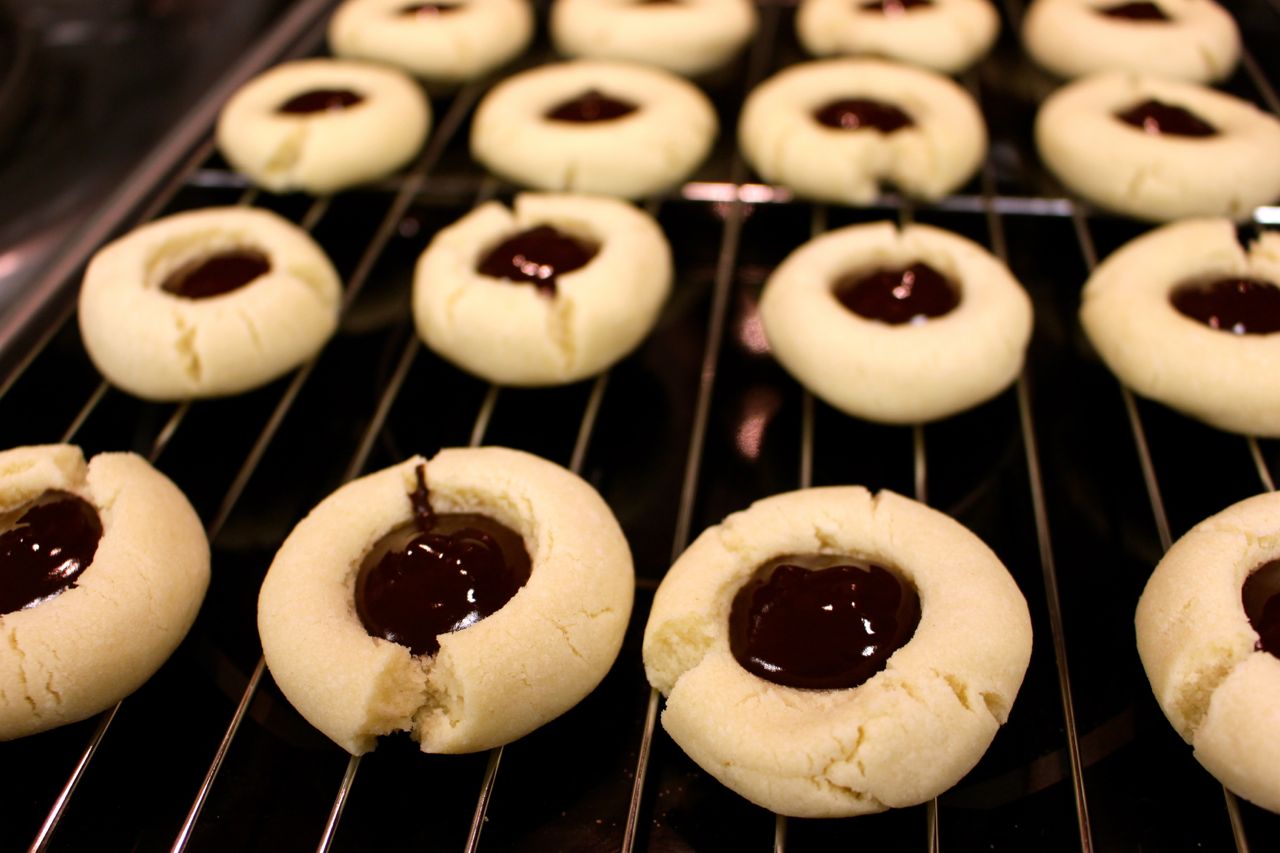
Step 6. Once the cookies are done, allow them to cook on a wire baking rack, just slightly.

Step 7. Fill a ziplock bag with ganache (allow it to cool first, if it hasn’t already!), and cut the tip of a corner off. (Voilà! Instant piping bag.) You can use this to carefully fill in the little cork-shaped wells you’ve made.

… This was definitely my favorite part.
You can allow the ganache to cool (it’ll harden in 15-30 minutes, depending on how warm both it and the cookies are), or just eat them as they are…
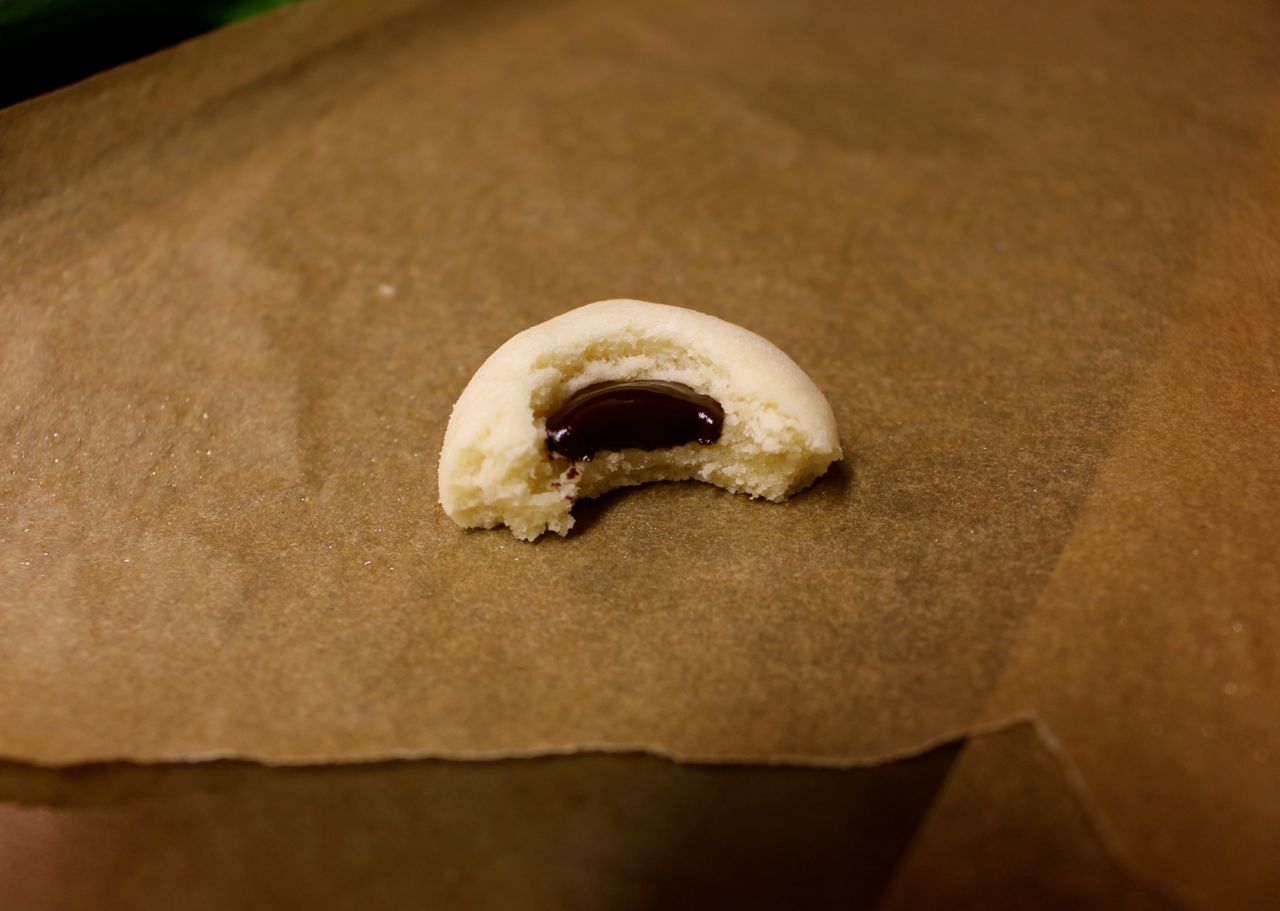
I hope you enjoy them as much as I did!
Thanks for reading!
– Kaitlin

I have done just about everything with this ganache except use it on butter cookies. These look delicious! They are definitely on my list to try next :-)